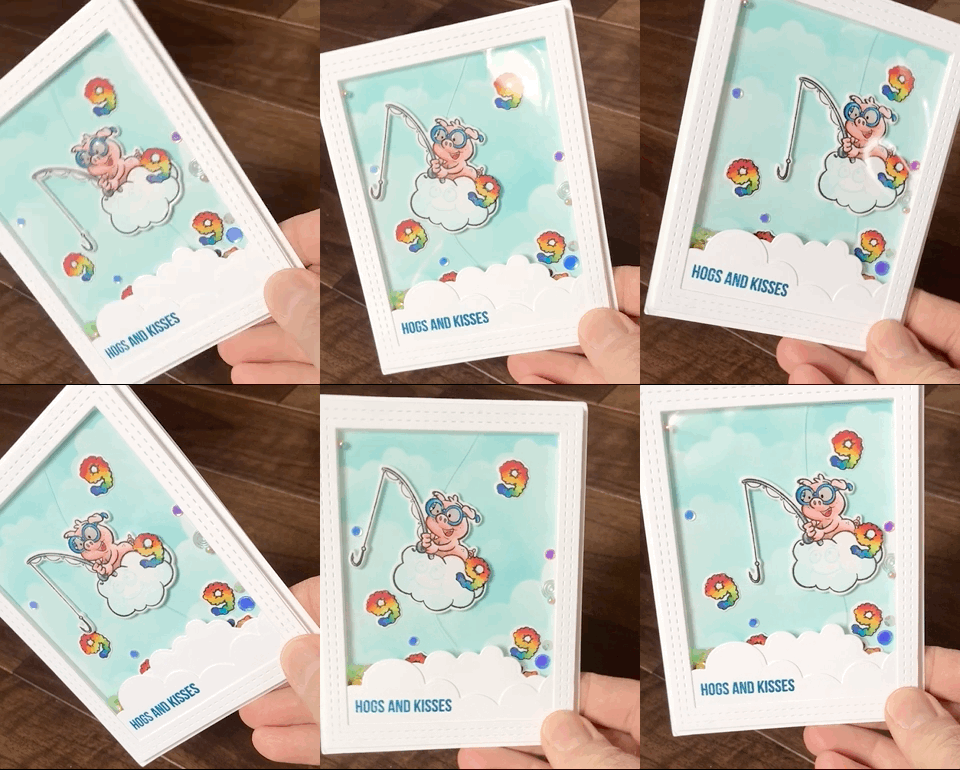
Your Next Stamp Floating Character Shaker
/Hope you have had a chance to check out the new March Release that arrived at Your Next Stamp this past Thursday. Today I get to highlight the recently released ‘Cloud Fun’ stamp set. I had a lot of fun playing around with the cloud nine theme of the stamp set.
Get the Look:
PREP WORK:
Die cut the largest stitch rectangle frame die about 6 times.
Die cut both of the puffy cloud dies out of white cardstock.
Die cut a second puffy cloud out of card to use as a stencil for background clouds.
Cut a 4” x 5 1/4” piece of acetate (same size as the large stitched rectangle die)
Take a 4” x 5 1/4” white card stock panel and using the puffy cloud stencil blend blue ink on to background to create soft clouds.
Adhere the die cut puffy clouds to the back of the rectangle frame die. Stamp sentiment on cloud. Adhere the acetate to the back of the die cut frame and clouds.
Stamp and colour your piggy character along with 7 or 8 of the cloud 9’s.
Die cut the images out. I chose to back the 9’s with a second die cut to make them stronger since they will be bouncing around in the shaker. The piggy I backed with 3 or 4 die cut pieces of card stock and adhered a length of fish wire in between the layers. I kept the fish wire quite long so that I could play around with tension and positioning of the element on the card.
Take a few of the coloured cloud 9’s and glue them onto the cloud background and on the piggy’s cloud
Time to build shaker: Glue together a couple of the rectangle frames to the back of the acetate panel. Play around with the horizontal position of the fish wire in between the top and bottom of the background cloud panel and acetate panel until happy with piggy position.
Leave some slack in the fish wire so piggy can wiggle. Once happy use adhesive tape to attach fish wire then continue to adhere the rest of the rectangle frames to make the back thick enough that piggy can move freely on inside.
Fill the well with shaker bits. I used and assortment of rainbow coloured sequins and gems.
Add glue, since cloud background is same size as rectangle frame window it is easy to line up and adhere to acetate panel.
Lastly adhere shaker panel to an A2 card base.
Supplies:
Your Next Stamp - Stitched Rectangle Frame
Your Next Stamp - Cloud Fun and Dies
Your Next Stamp - Puffy Cloud Border Die


