3 -ways to Stretch Die Cut sentiments
/So here is a little insight into how my creative brain works. It is definitely not a straight path from thought to card. I started off with a single card based on a masculine theme with greens, blues and offsetting and layering the Big Words Birthday die. Colours weren’t working for me. I put it aside and went off and did other things. It’s amazing how giving my brain a break and going off to do other stuff, helps with the creative process. This is when other ideas start growing.
I remembered a card I had done with the same olive tone green and added a pink and really liked how the colours had worked. Now I’ve decided I wanted to try pink and greens. Since I've already cut all these blues and greens I thought how about making two cards; masculine and adding that touch of pink. Also started thinking - how can I creatively stretch the Big Words Birthday die cut. So one card turned into 3 cards and somehow they all have a touch of pink. I’m more than happy to give a pink card to a guy. How does your creative process work?

The hardest part about making these cards is diecutting the Big Words Birthday die many, many times. I went through all of my mismatched leftover card stock and pulled from there.
Here are just three ways that you can stretch your sentiment dies. There are many, many more ways.
Different size format card.
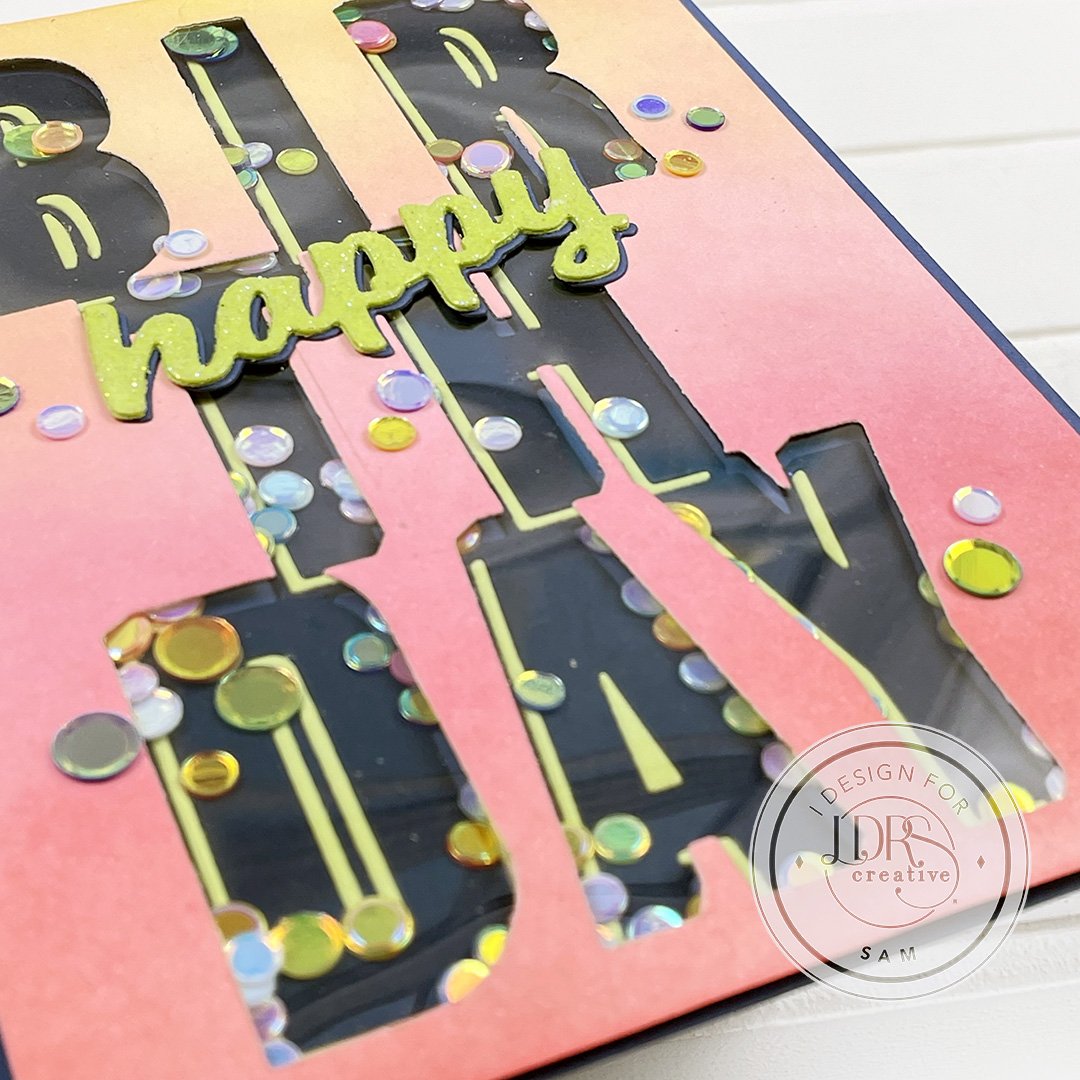
Create a shaker
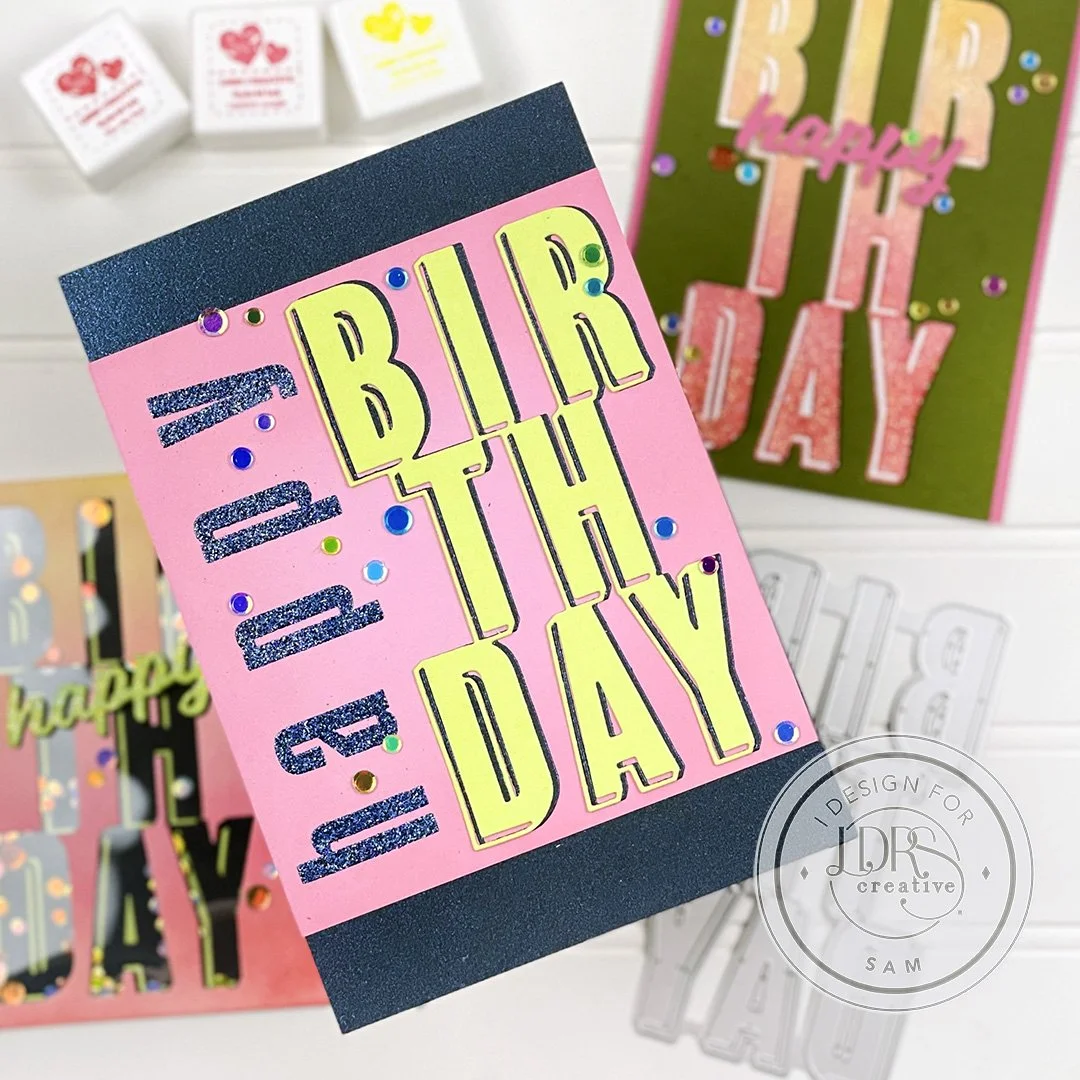
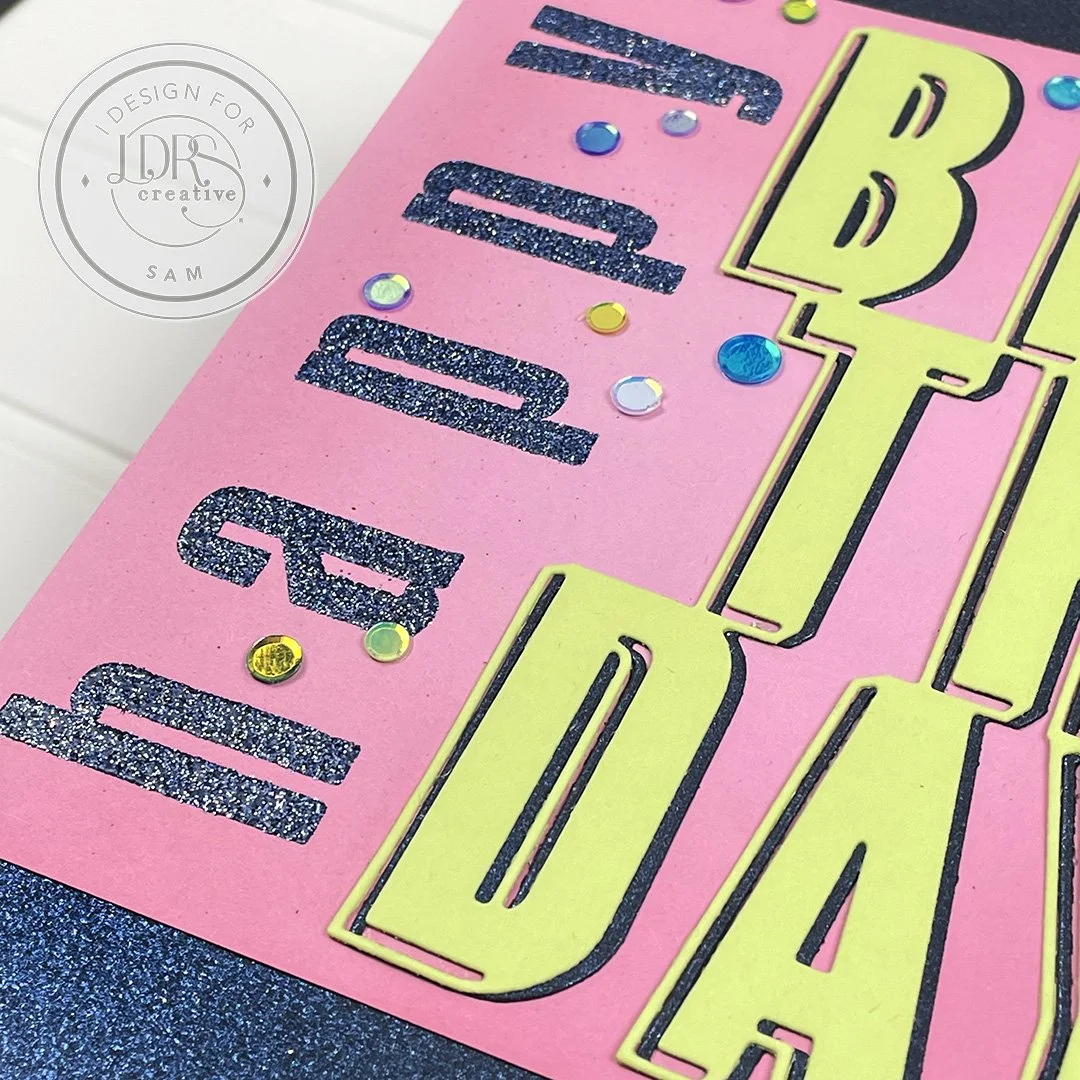
Inset the Sentiment
Different Size Format: 5x7
Die cut the Big Words Birthday die out of light green (save internal pieces for shaker card) and shimmery blue cardstock.
On a 5” x 51/2” sheet of pink cardstock line up the letters ‘h’ ‘a’ ‘p’ ‘p’ ‘y’ from the Jordan Alphas Lower stamp set. Neat trick I use the ‘d’ upside down to get the second ‘p’.
Heat emboss in glitter blue embossing powder.
Offset and layer the green and shimmery blue Birthday died cardstock next to the embossed happy.
Layer the pink onto the same shimmery blue cardstock on a 5”x7” card base.
Add embellishments
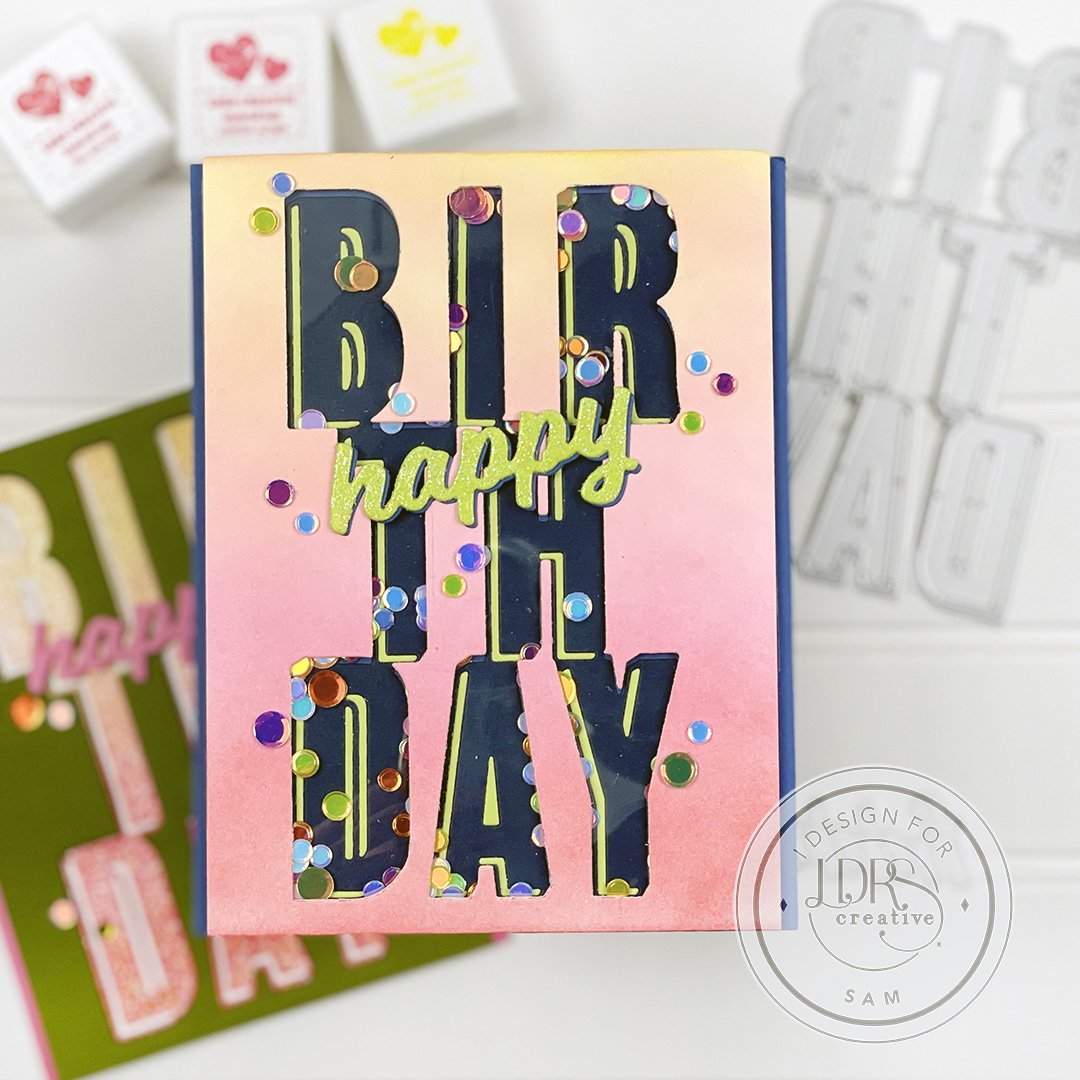
Create a Shaker:
Die cut Birthday and Happy from Big Words Birthday die. Navy blue for birthday and light green and soft blue for happy.
Emboss glitter embossing powder over green happy. Adhere the green and soft blue happy together with a slight offset.
Ink blend Lantern Yellow, Pink Tutu, Lipstick Jungle and Kiss me Red onto a 4”x 5 1/2” panel. Die cut out Birthday from the Big Words Birthday die out of ink blended panel. (Set aside sentiment for next card)
Using the opening on the die cut panel as guidance, adhere the navy blue birthday to a soft blue A2 card base. Inlay the green into the navy birthday sentiment.
Now build the shaker. First add acetate to the back of the die cut opening, then either use foam tape or die cut some craft foam to back your die cut shaker card.
Add your sequins and adhere the top panel over the card base.
Lastly embellish the card with more sequins and adhere the happy ontop.
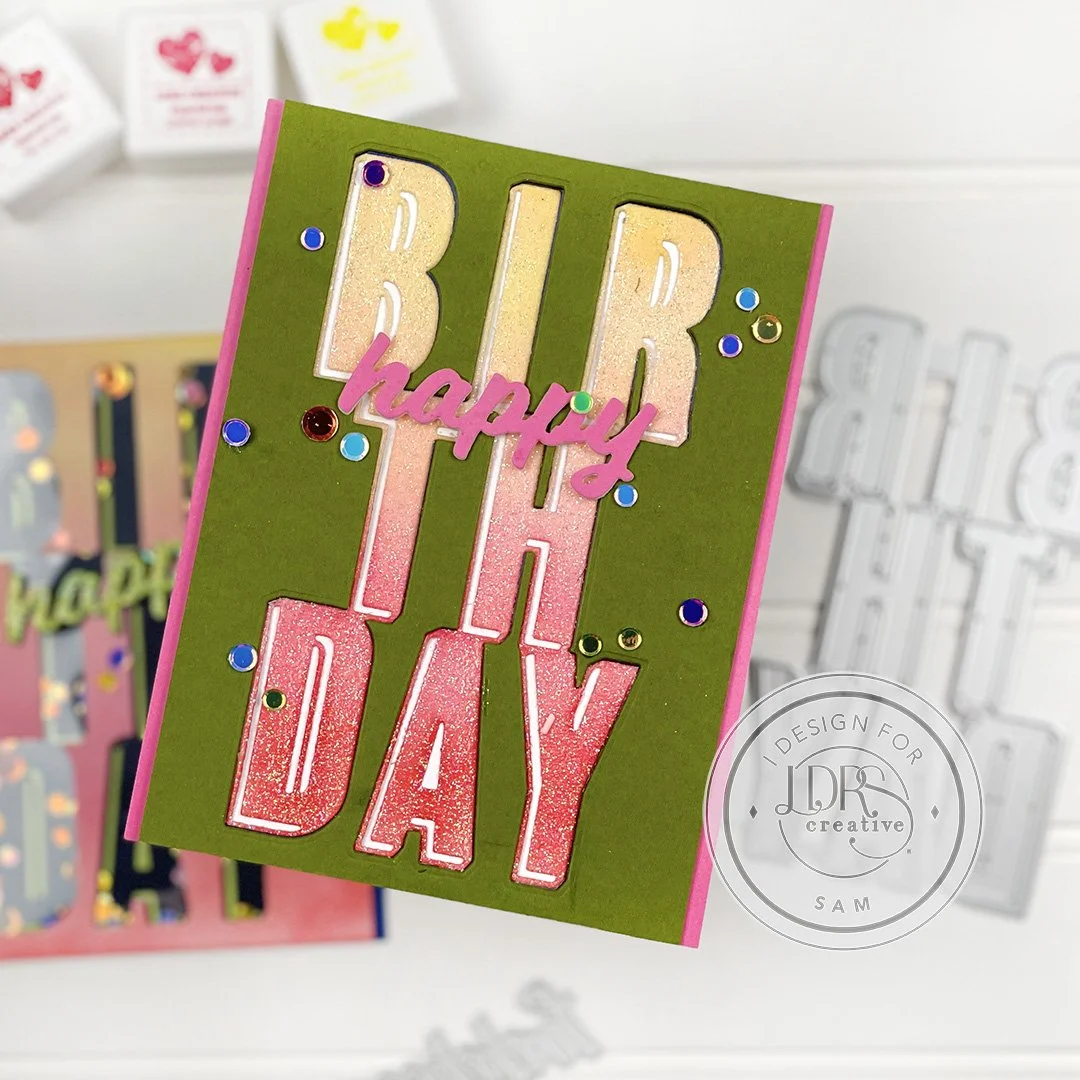
Inset the Sentiment:
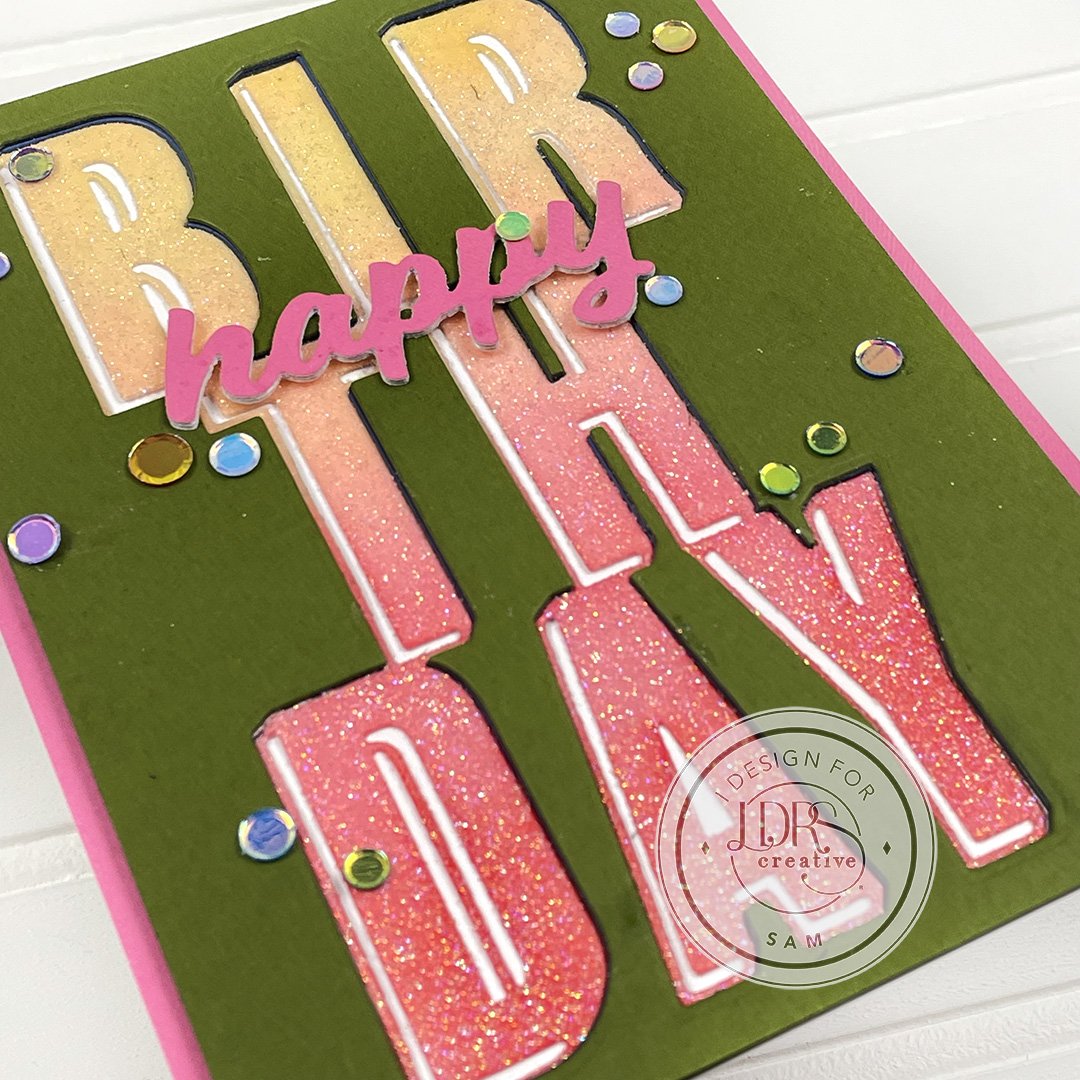
Die cut Birthday and Happy from Big Words Birthday die. From a 4”x 5 1/2” olive green panel, centre and die cut ‘birthday’. Diecut ‘happy’ from pink cardstock several times and adhere together to give it depth.
Emboss glitter embossing powder over ink blended ‘Birthday’ sentiment.
Add strips of pink cardstock to the edges of an A2 cardbase. Layer the green panel over top. Inset and glue the ‘birthday sentiment’.
Lastly embellish the card with more sequins and adhere the happy onto.
Hope I’ve inspired to try different ways with your sentiment dies. Happy papercrafting : )
